Building model aircraft is a rewarding hobby that combines history, artistry, and hands-on skill. For many, it’s a way to connect with the marvels of aviation, creating miniature replicas of iconic planes from different eras. Whether you’re drawn to the classic fighters of World War II or the sleek jets of modern aviation, this guide will walk you through the essential steps to get started. From selecting your first kit to proudly displaying your finished masterpiece, you’ll find the information you need to embark on this creative journey.
1. Choose the Right Starter Kit
Your first project sets the tone for your entire modeling experience, so it’s important to choose wisely. Model kits are categorized by scale and difficulty level. The scale, such as 1:72 or 1:48, indicates how many times smaller the model is than the actual aircraft. A 1:72 scale model means the real plane is 72 times larger. For beginners, a 1:72 or 1:48 scale kit is often a good starting point as the parts are a manageable size.
Look for kits labeled as “Level 1” or “Beginner.” These typically have fewer parts, simpler instructions, and are often “snap-together,” meaning they require little to no glue. This allows you to focus on the fundamental techniques of assembly and painting without getting overwhelmed. Brands like Airfix and Revell offer excellent starter sets that sometimes even include the basic paints and glue you’ll need.

2. Gather Your Essential Tools and Workspace
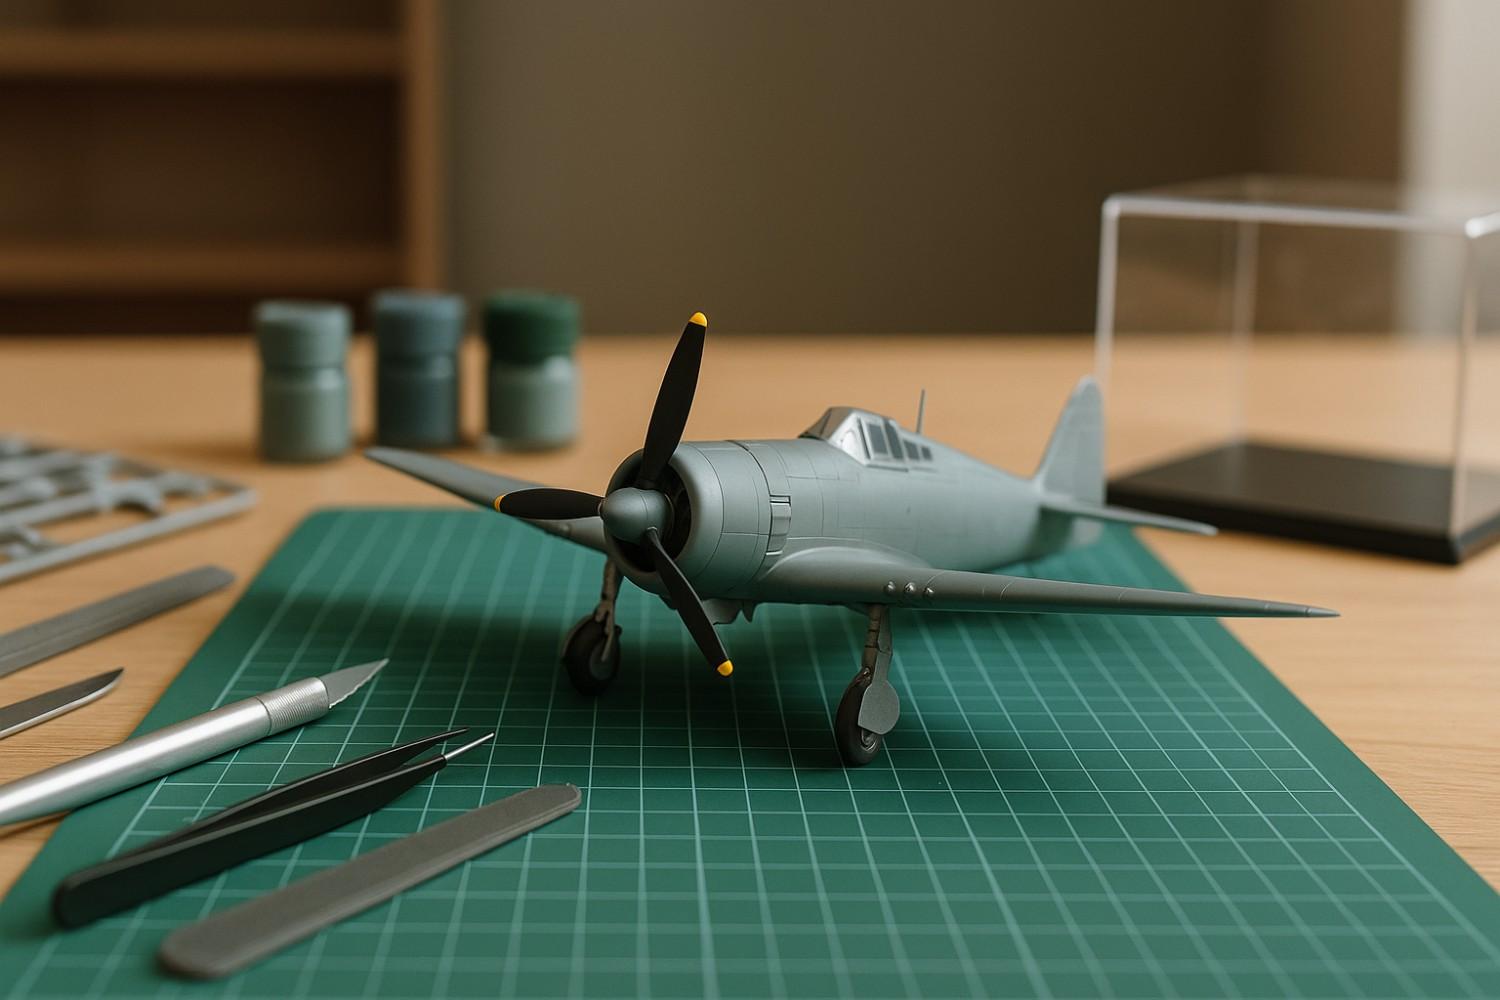
Having the right tools makes the building process smoother and more enjoyable. While you can accumulate specialized tools over time, a few basics are essential for your first build. A hobby knife is crucial for cleanly removing parts from their plastic frames (sprues). A self-healing cutting mat will protect your work surface. To handle small pieces, a pair of fine-tipped tweezers is invaluable. You’ll also need plastic cement or super glue for assembly, and various grades of sandpaper or sanding sticks to smooth out any rough edges.
Set up a dedicated workspace that is well-lit and organized. Good lighting is critical for seeing small details and ensuring parts are aligned correctly. Using small containers or a partitioned tray to hold parts as you work can prevent them from getting lost. A comfortable chair is also a must, as you might find yourself engrossed in your project for hours at a time.
3. Master Basic Assembly and Painting Techniques
Before you start gluing, it’s a good practice to “dry-fit” the parts. This means fitting them together without adhesive to ensure they align properly. This step can save you a lot of trouble later by identifying any fit issues that need to be addressed. When it’s time to glue, use it sparingly. Applying too much can cause it to ooze out and mar the plastic surface.
Painting is where your model truly comes to life. Always wash the plastic parts in warm, soapy water before you begin to remove any mold-release agents that might interfere with paint adhesion. Applying a primer coat creates a uniform surface for your paint and helps the colors appear more vibrant. For beginners, acrylic paints are a great choice as they are water-based, dry quickly, and are easy to clean up. You can start with hand-brushing, but as you advance, you might want to explore airbrushing for a smoother, more professional finish. When adding decals, use a decal setting solution to help them conform to the model’s surface details for a painted-on look.

4. Explore Different Types of Aircraft Models
Once you have a build or two under your belt, you might want to explore the wide world of model aircraft. The options are nearly limitless, from the biplanes of World War I to the stealth bombers of today. Many modelers specialize in a particular era, country, or type of aircraft. You could focus on the legendary Spitfire and Messerschmitt fighters of the Battle of Britain or the powerful carrier-based aircraft of the Pacific Theater.
Beyond plastic kits, you’ll also find models made from other materials. For instance, detailed wooden airplane models offer a different kind of building experience, often involving laser-cut parts that slot together to create a beautiful, skeletal frame. These can be stunning display pieces in their own right. Exploring these different avenues can keep the hobby fresh and exciting, allowing you to continually develop new skills.
5. Create an Impressive Display for Your Finished Models
After pouring hours of effort into your creation, it deserves to be displayed with pride. How you display your models can enhance their visual impact and protect them from dust and damage. A simple bookshelf can be a good starting point, but dedicated display cases offer better protection. Clear acrylic or glass cases are ideal for keeping dust away while allowing for unobstructed viewing.
To make your display more dynamic, consider the setting. Creating a small diorama with a scenic base can place your aircraft in a historical context. You can purchase pre-made display bases that mimic an airfield runway or a patch of grassy terrain. Another popular option is to use display stands to pose your aircraft in a flight attitude, which can create a sense of action and movement. Grouping models by theme, such as a collection of U.S. Navy fighters or a timeline of aviation history, can also create a compelling and educational exhibit in your own home.

In conclusion, modeling aircraft provides a rewarding and creative hobby that combines craftsmanship, history, and education. Whether displayed in lifelike dioramas, dynamic flight poses, or carefully curated collections, these models bring the fascinating world of aviation to life. By dedicating time and attention to detail, you can create stunning exhibits that showcase both your passion and the rich history of flight.